


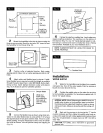
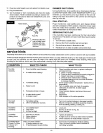
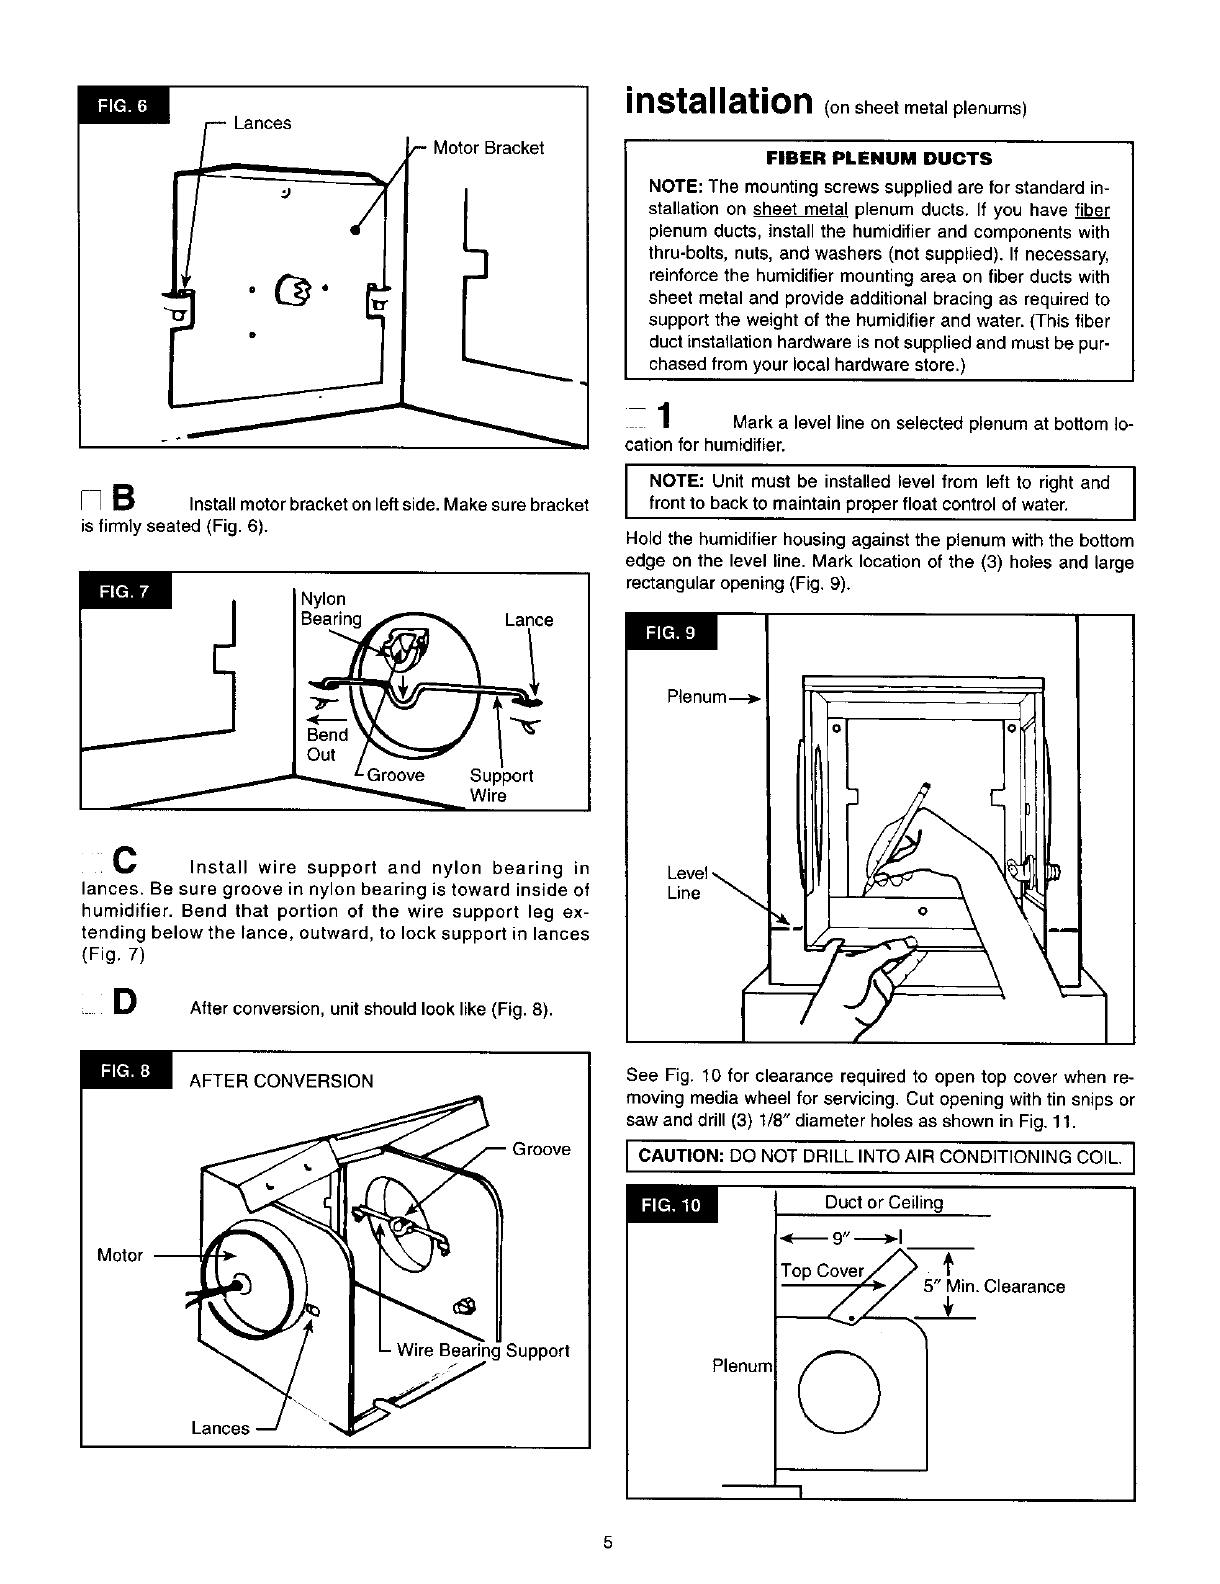
MotorBracket
_ B Install motor bracket on left side. Make sure bracket
is firmly seated (Fig. 6).
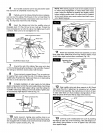
Nylon
Lance
C Install wire support and nylon bearing in
lances. Be sure groove in nylon bearing is toward inside of
humidifier. Bend that portion of the wire support leg ex-
tending below the lance, outward, to lock support in lances
(Fig. 7)
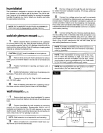
D After conversion, unitshould look like (Fig. 8).
AFTER CONVERSION
Groove
Motor --
- Wire Bearing Support
Lances
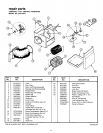
installation (on sheet metal plenums)
FIBER PLENUM DUCTS
NOTE: The mounting screws supplied are for standard in-
stallation on sheet metal plenum ducts. If you have fiber
plenum ducts, install the humidifier and components with
thru-bolts, nuts, and washers (not supplied). If necessary,
reinforce the humidifier mounting area on fiber ducts with
sheet metal and provide additional bracing as required to
support the weight of the humidifier and water. (This fiber
duct installation hardware is not supplied and must be pur-
chased from your local hardware store.)
'4
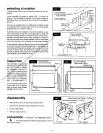
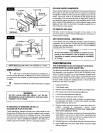
I Mark a level line on selected plenum at bottom lo-
cation for humidifier.
NOTE: Unit must be installed level from left to right and I
front to back to maintain proper float control of water.
I
Hold the humidifier housing against the plenum with the bottom
edge on the level line. Mark location of the (3) holes and large
rectangular opening (Fig. 9).
Level
Line
See Fig. 10 for clearance required to open top cover when re-
moving media wheel for servicing. Cut opening with tin snips or
saw and drill (3) 1/8" diameter holes as shown in Fig. 11.
CAUTION: DO NOT DRILL INTO AIR CONDITIONING COIL.
Plenum
Duct or Ceiling
g"--._-_1
Top Cove r_/_
._._, / 5' _in. Clearance
©
5