Installation
Introduction
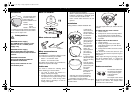
Your Raymarine CAM
50 CCTV camera is a
good quality color
camera available in two
models:
•E03016 - NTSC
format.
•E03017 - PAL format.
It is waterproof to IP63 standard and suitable
for use in indoor locations such as the wheel
house, salon or engine room.
Safety notices
What’s in the box?
What tools are required?
What accessories are
available?
To enable you to complete the cabling to instal
your camera the following are available:
• E06017 - 5 m extension cable.
• E06018 - 15 m extension cable
The cables can be joined in any combination to
achieve the required cable length.
Cable runs
You need to consider the following points
before installing your camera cables:
• You need to connect the camera to a
display unit and power supply.
• All cables should be adequately clamped
and protected from physical damage and
exposure to heat - avoid running cables
through bilges or doorways, or close to
moving or hot objects.
• Acute bends must be avoided.
• Where a cable passes through an exposed
bulkhead or deckhead, a watertight gland
or swan neck tube should be used.
• CCTV camera cables cannot be cut and
rejoined.
Installation
Having selected a suitable installation site:
1.Remove the
camera dome by
gently turning it
counter- clockwise
to release the
bayonet fixing.
2.Remove the
camera cover by
gently pulling it
away from the
dome baseplate.
3.Hold the base-
plate in the
required position
and using a
pencil mark the
fixing holes.
4. Using a suitable
drill bit make pilot
holes for the fixing
screws.
5.Fix the camera
and baseplate into
position using the
two screws
provided.
6.Make sure that
the cable is
placed in the
cable slot of the camera baseplate to
ensure that it is not pinched when the
baseplate is secured in position.
With the camera installed you can now adjust
the field of vision .
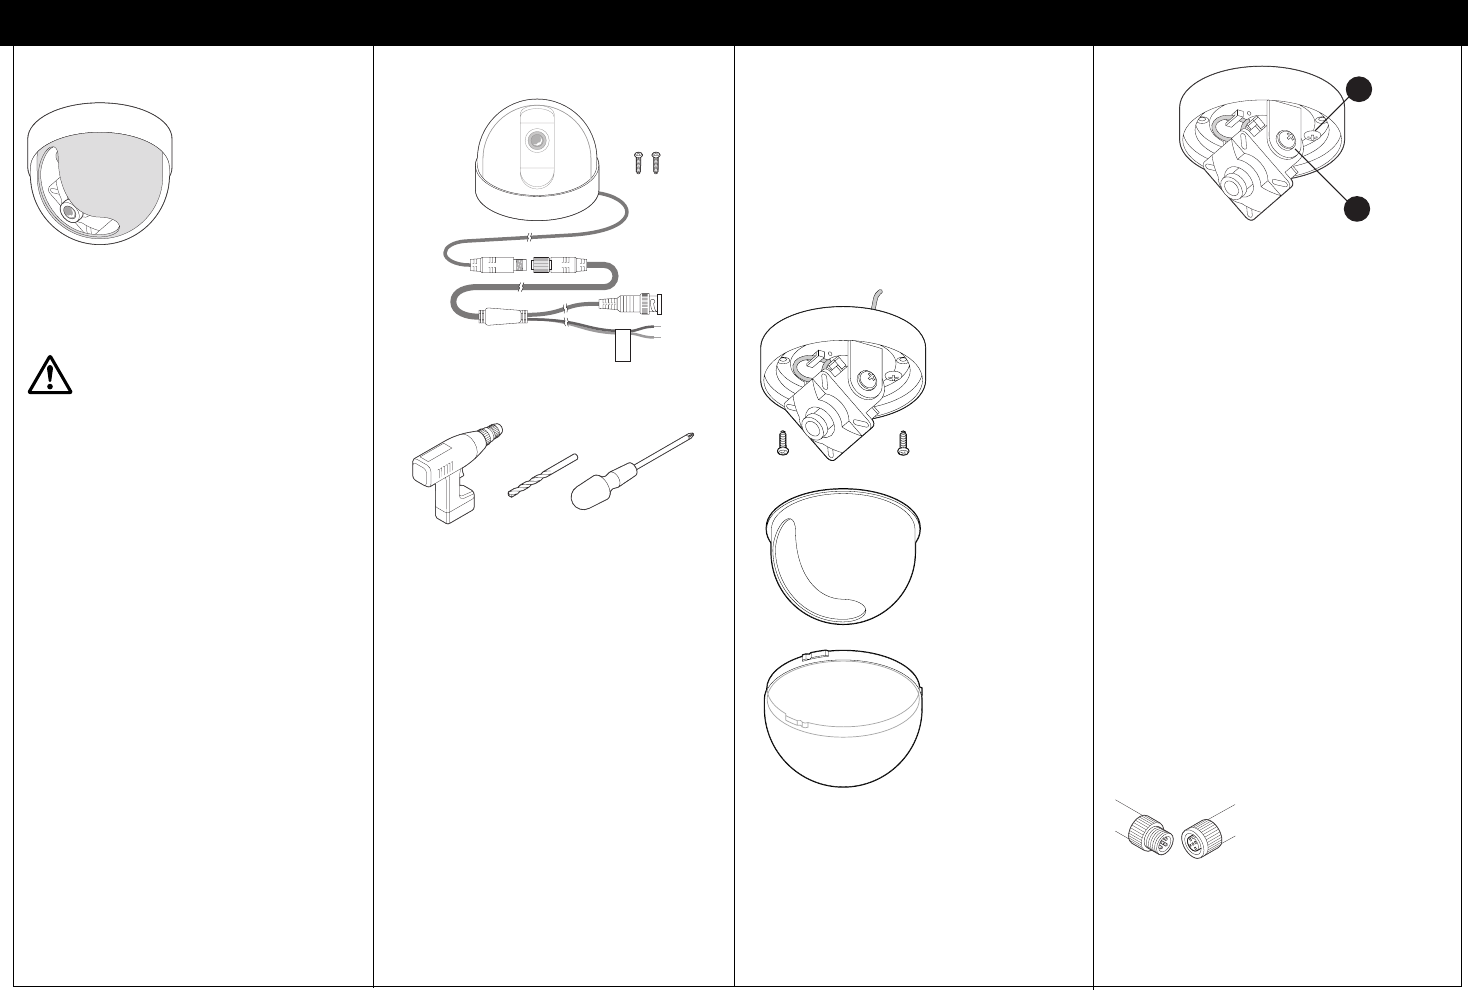
You cabn adjust both the pan and the tilt of the
camera.
To adjust the pan of the camera:
1. Loosen screw A.
2. Gently turn the camera assembly until the
lens is pointing in the required direction.
3. Gently pinch screw A to secure the camera
in position.
To adjust the tilt of the camera:
1. Loosen screw B.
2. Holding the edges of the camera plate
gently tilt the camera up or down into the
required position.
3. Gently pinch screw B to secure the camera
in position.
You should now connect the camera to your
display and check that the required image is
being shown.
Either adjust the image by changing the pan
and tilt as detailed above, or, replace the
camera dome and cover to complete the
installation.
Cable connections
The extension cables from
the camera to the display
unit are joined using the
male/female twist
connectors.
The adapter cable should
be used to connect the display and the power
supply to the camera. The adapter cable
connections are shown below.
CAUTION: Power supply
The CAM 50 CCTV camera is suit-
able for use on a 12 V DC power
supply only.
CAUTION: Power supply
A 0.5 A quick-blow fuse should be
fitted to the positive (red) lead of the
camera.
CAUTION: Installation
This product IS NOT suitable for
installation underwater.
This product contains no user
serviceable parts.
12V DC
ONLY
Drill
Drill bit
Phillips
screwdriver
Camera
Dome
Cover
A
B
Female
Male
81294_1.fm Page 1 Friday, September 15, 2006 9:29 AM