18 45D0080
45D0080 19
OPERATING INSTRUCTIONS
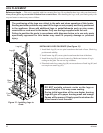
1. STOP! Read the safety information label.
2. Make sure the manual shutoff valve is fully open.
3. This gas log set is equipped with an ignition device (piezo) which automatically lights the pilot. If piezo
ignitor does not light the pilot, refer to instructions for “Match Lighting Instructions”, page 21.
4. Turn gas control knob clockwise to the OFF position, set the thermostat to the lowest setting and
turn ON/OFF switch to OFF position.
5. Wait (5) minutes to clear out any gas. Then smell for gas, including near the oor. If you smell gas, STOP!
Follow the instructions under “What To Do if You Smell Gas,” page 16. If you don't smell gas, go to next
step.
6. From OFF position, turn the gas control knob counterclockwise to IGN position. Push in control
knob for 5 seconds. NOTE: If you are running the heater for the first time, it will be necessary
to press in the control knob for 30 seconds or longer to allow air to bleed out of the gas
piping.
7. With the control knob pushed in, the battery powered ignition will light the pilot.
8. Continue pushing the control knob in for a further 10 seconds to prevent the ame detector from shutting
off the gas while the probe is warming up. Release the control knob.
9. Turn gas control knob counterclockwise to the ON position.
10. After the pilot has been lit for one minute, the burners can be turned on. Turn the ON/OFF switch to ON
position or adjust thermostat to desired setting. NOTE: To use the optional thermostat function (if
installed), the control knob must be set to “ON” and the ON/OFF Switch must be in the “OFF”
position.
11. If the gas logs will not operate, follow the instructions “To Turn Off Gas To Heater” below and call your
service technician or gas supplier.
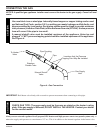
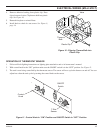
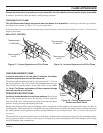
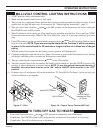
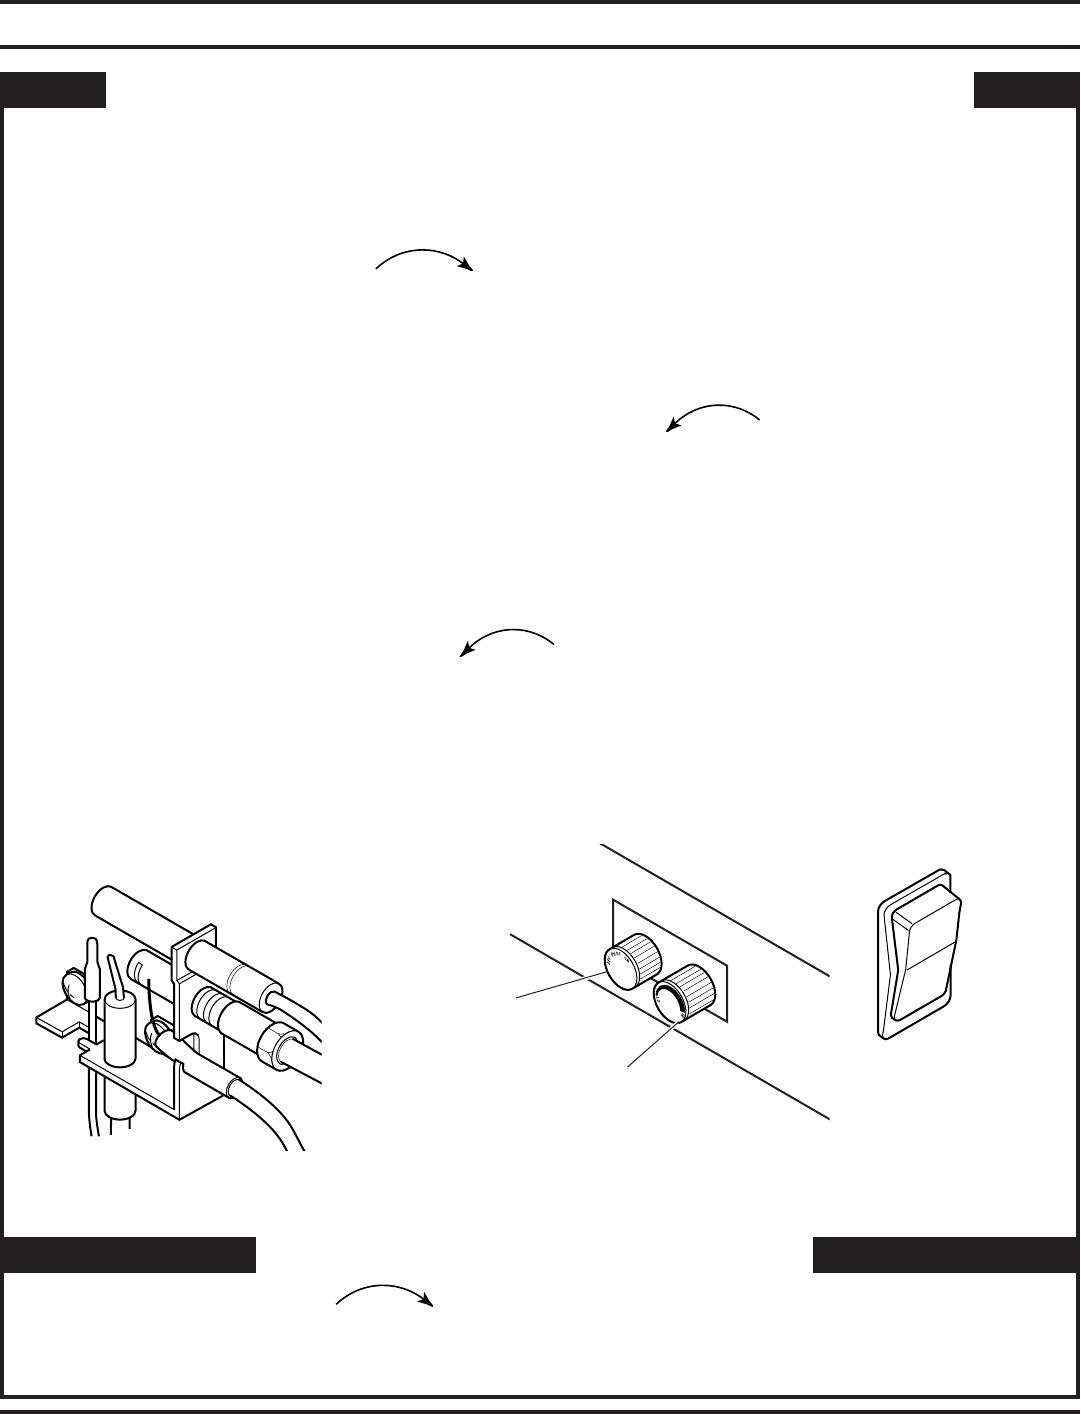
Figure 17 - Pilot
TO TURN OFF GAS TO HEATER
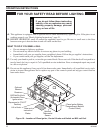
1. Turn control knob clockwise to OFF position to completely shut off the heater.
2. If applicable: Turn ON/OFF switch to OFF position and/or set thermostat (if present) to lowest setting.
3. If applicable: Turn off all electric power to the heater.
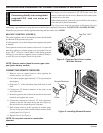
Figure 18 - Control Cover Plate for Milli-Volt
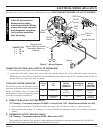
Hi/Lo Control
Ignitor/Pilot Control
MILLI-VOLT CONTROL LIGHTING INSTRUCTIONS
On/Off Switch
(Located on Side
of Stove)


