


3. Make sure that the mounting screws are positioned in the small
ends of the keyholes before tightening the screws.
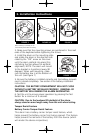
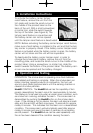
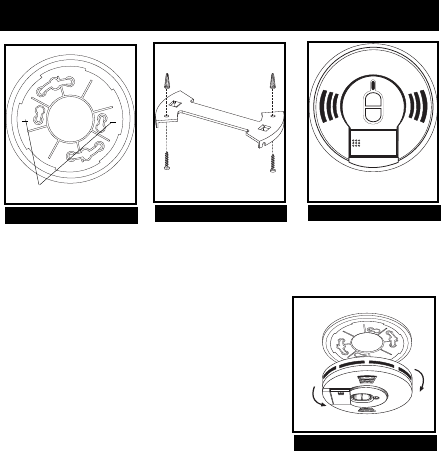
4. Install the alarm on the mounting plate
and rotate the alarm in the direction indi-
cated by the "ON" arrow on the cover
until the alarm ratchets into place (this
ratcheting function allows for aesthetic
alignment). NOTE: The alarm will mount
to the bracket in 4 positions (every 90
degrees). When wall mounting, make
sure the battery box is at the bottom of
the unit. (see Figure 7)
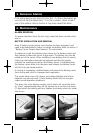
5. Be sure the battery is installed correctly and the battery compart-
ment is closed completely. See section 6 for battery installation
instructions.
CAUTION: THE BATTERY COMPARTMENT WILL NOT CLOSE
WITHOUT A BATTERY INSTALLED PROPERLY. REMOVAL OF
THE BATTERY WILL RENDER THE ALARM INOPERATIVE.
6. Test the unit to ensure proper operation by pressing the Test
Button for a minimun of 5 seconds.
CAUTION: Due to the loudness (85 decibels) of the alarm,
always stand an arms length away from the unit when testing.
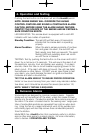
Tamper Resist Feature
Battery Carrier Tamper Resist Feature
This alarm has a battery carrier tamper resist feature, which
helps prevent the battery carrier from being opened. This feature
helps prevent the removal of the battery from this device (which
will render the device inoperative).
3. Installation Instructions
FIGURE 7
Install
Remove
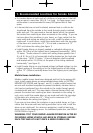
FIGURE 6
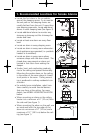
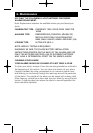
FIGURE 5
Alignment Marks
A
A
When mounting in a hallway, the “A”
line should be parallel with the hallway.
FIGURE 5A