


THERMOSTAT REMOTE CONTROL
១
Remove screen from front of heater. Place the remote control receiver on the floor of the heater,
over next to the inside wall of the heater. Run the two wires from the receiver through the
opening in the floor of the heater so they can be connected to the valve. ( NOTE: Make sure the
wires are placed so they are not close to any flames on the burner.)
១
It is recommended by the manufacturer that a qualified individual install this device.
១
The DiamondGlo II and DiamondGlo Jr. are shipped from the factory with a thermostat
included. If using the Thermostat Remote Control, the thermostat package, including the wire
can be discarded.
១
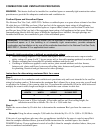
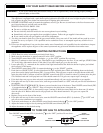
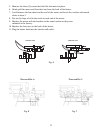
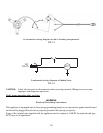
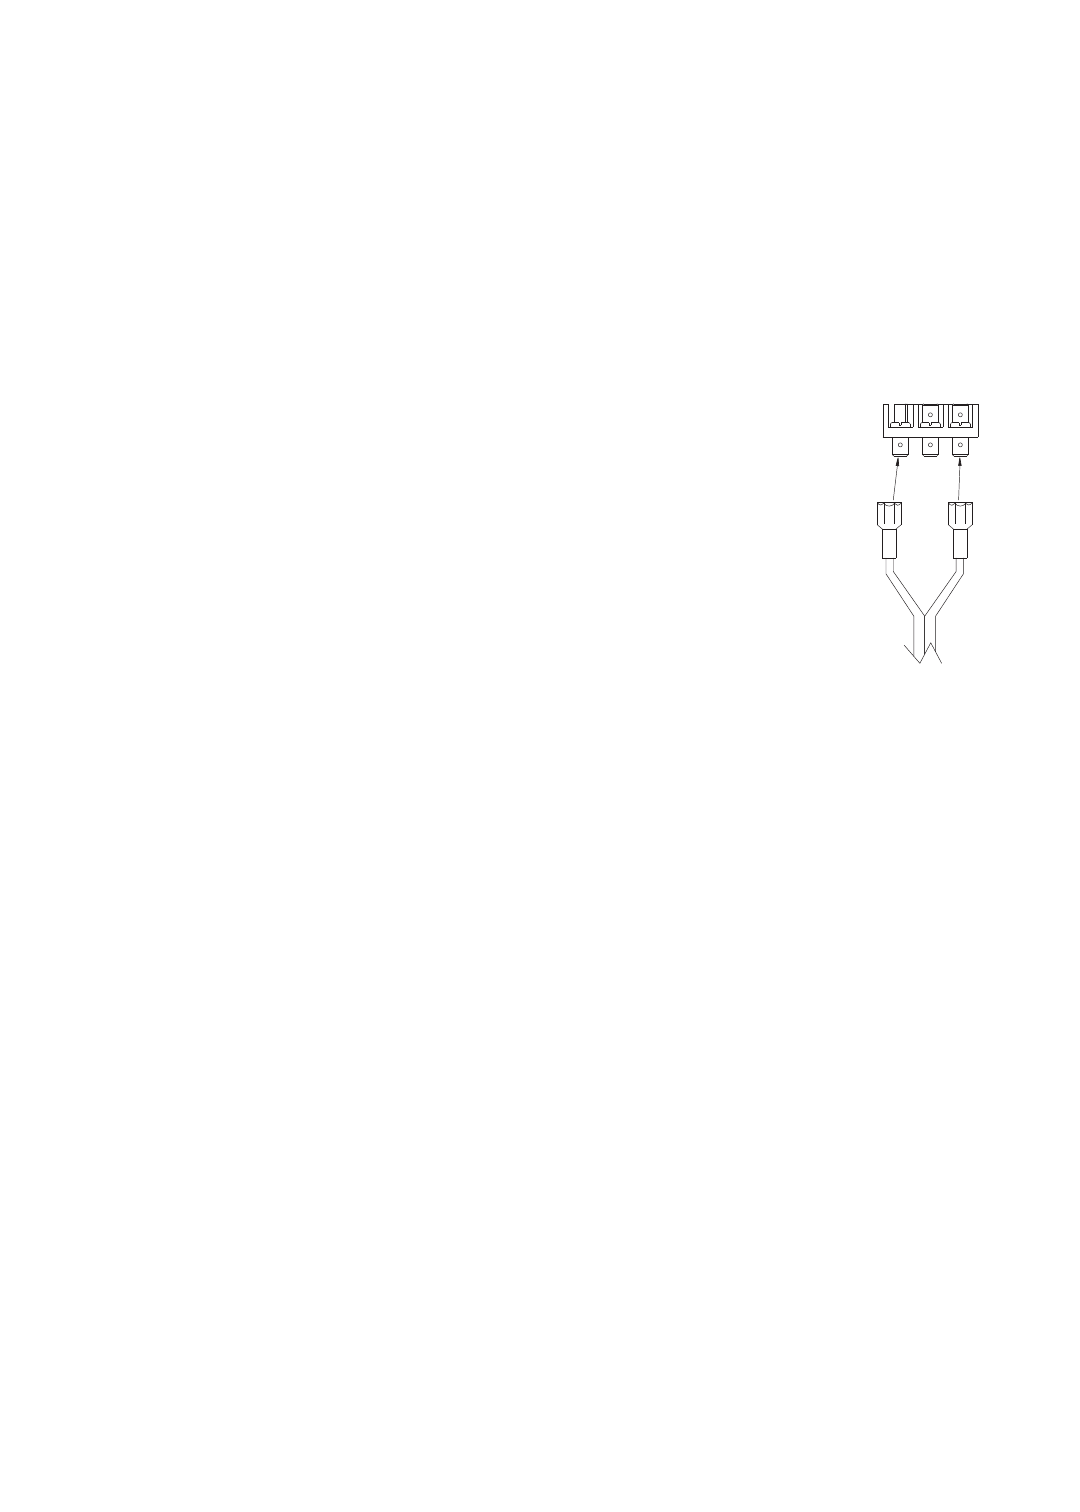
Locate the control valve located at the back of the heater. Notice the electric terminals on the
control valve, located on the right hand side of the valve when facing the back of the heater. See
FIG. 2.
1. Follow the instructions supplied with the Thermostat Remote Control.
This is a millivolt gas valve.
It is recommended by Heatmaster, Inc. that all precautions are
followed exactly. (NOTE: In the instructions supplied with the remote
control, there are instructions on a crackling sound system. This is an
optional system and is not available from Heatmaster, Inc.)
2. Follow the safety information on page 9 of this instruction manual.
3. Follow the lighting instructions on page 9 of this instruction manual.
4. After lighting the pilot, turn the ON/OFF control knob (FIG. 4 on
page 9) to the “ON” position. You may now operate your log set
according to the remote control instructions. You can now adjust the HI/LOW knob to the desired
level. If you have the HI/LOW control knob on “HI”, thelog set will burn on high flame when the
remote control calls for heat. If you have the HI/LOW control knob on “LOW” the log set will
burn on low flame when the remote control calls for heat.
5. It is recommended that you turn the ON/OFF control knob (FIG. 4 on page 9) on the control
valve to the “OFF” position when leaving home for any period of time.
FAN OPERATION
Your heater can be operated without the fan running in the event of a power failure.
Your heater is equipped with a built-in thermostat that will cause the fan to operate with the burner unit
in the heater. The heater may need to operate approximately 5 minutes before the fan thermostat allows
the fan to come on. After the burner shuts off, the fan may continue to run for approximately 5 minutes
before the fan thermostat allows it to cut off. The fan is designed to operate with the burner unit of the
heater automatically as long as the electrical cord is plugged in.
8
TP TH TP TH
FIG. 2