


1
Heat & Glo • Burner Replacement Installation Instructions • 2187-901 Rev. E • 2/12
BURNER REPLACEMENT
Models: 6000TR-OAK, 6000TRI, 6000TRXI
- Installation Instructions -
KIT CONTENTS:
• Burner Assembly
• Pilot Bracket
• Additional burner neck (not for all models)
1. Remove existing logs, grate and burner.
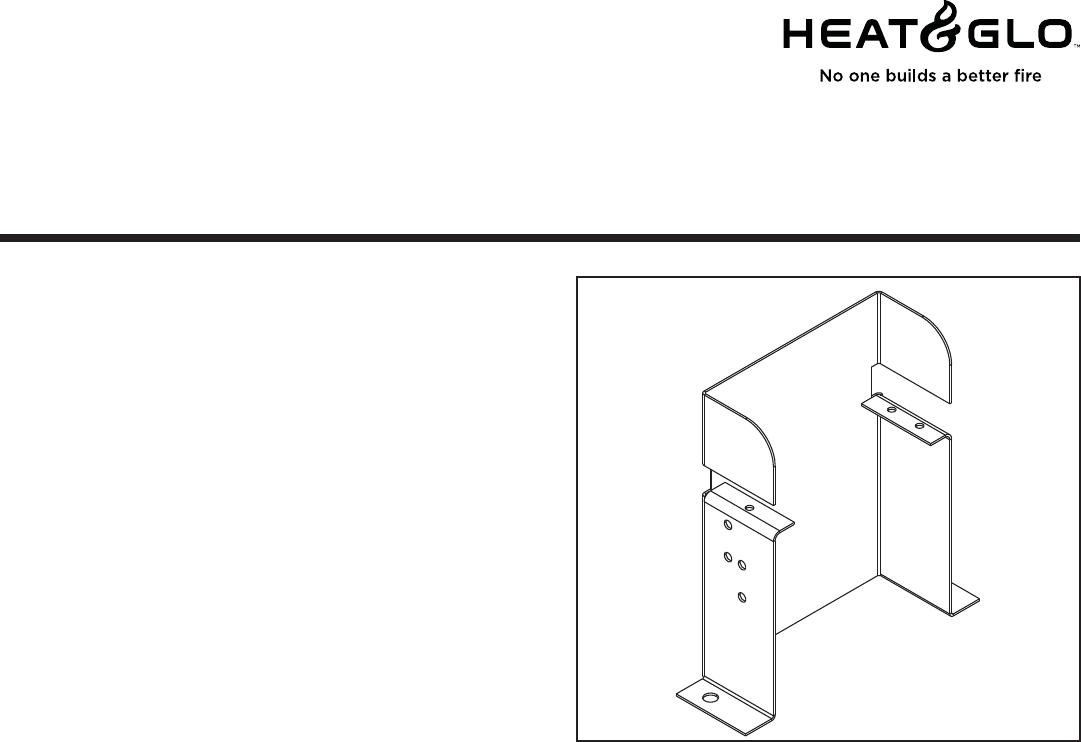
2. Replace existing pilot bracket with new pilot bracket
The new pilot bracket is 1/4 inch taller.
3. Install new burner.
4. Determine whether or not fi replace is equipped with
slide mechanism shutter assembly that is adjustable
from outside the fi rebox.
• If it is not equipped with this assembly, replace burner
neck on burner assembly with additional burner neck
included with the kit. Remove air shutter from old
burner neck by removing one screw. Reinstall on
new burner neck.
• If it is equipped with the assembly use burner as
supplied with the kit.
5. Install logs according to log placement instructions.
6. Some models are equipped with refractory. Trim
refractory panels to fi t if necessary.
Figure 1
Please contact your Heat & Glo dealer with any questions
or concerns.
For the location of your nearest Heat & Glo dealer,
please visit www.heatnglo.com.
Heat & Glo, a brand of Hearth & Home Technologies Inc.
7571 215th Street West, Lakeville, MN 55044
www.heatnglo.com
CAUTION! Risk of Cuts or Abrasions. Wear protective
gloves and safety glasses during installation. Sheet metal
edges are sharp.