Using Finishing Tools
12 3A0245B
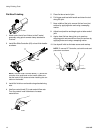
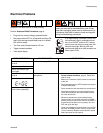
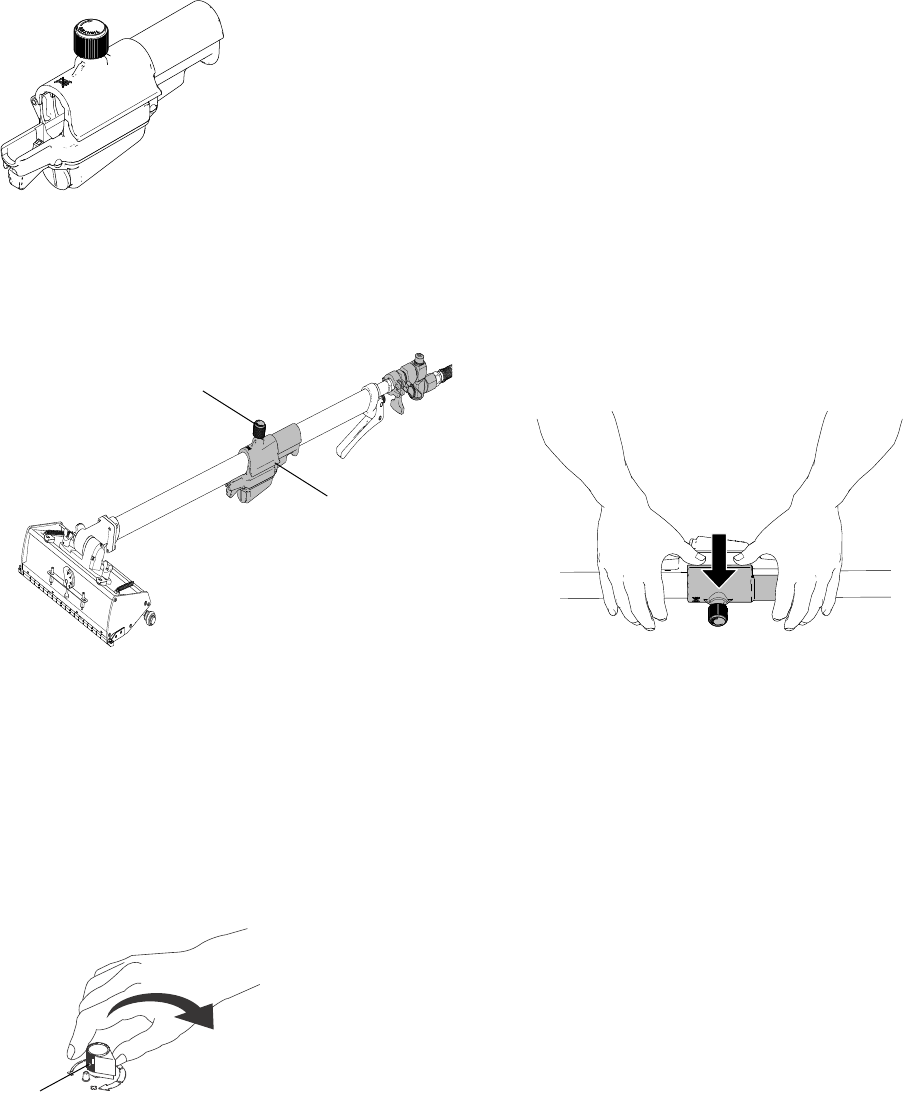
Flat Box Finishing
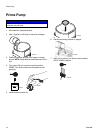
1. Attach male inlet of box finisher to the Z-swivel
assembly using quick-connect clamp attached to
Z-swivel.
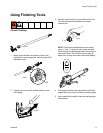
2. Install Box Slide Controller (KK) on box finish handle
as shown.
NOTE: The Box Slide Controller Brake (TT) allows the
controller to be positioned on the handle. Make sure
that the brake is fully loosened when installing the con-
troller on the handle.
3. Install flat finish box on handle using attached wing
nuts.
4. Use flow control knob (C) to set material flow rate.
Turn flow control knob clockwise to increase
material flow.
5. Place flat box at end of joint.
6. Pull trigger and lead with handle and draw the tool
along the joint.
7. Near middle of the joint, remove flat box from joint
surface by applying brake and using a sweeping
motion.
8. Adjust hand position and begin again at other end of
joint.
9. Again, draw flat box along joint up to previous
stopping point and remove box from joint surface by
applying brake and using a sweeping motion.
10. Use drywall knife to eliminate seams and overlap.
NOTE: To remove RF Controller, use both thumbs and
press down as shown:
ti15676a
ti15668a
TT
KK
ti8794a
C
ti15673a


