


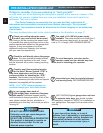
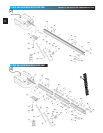
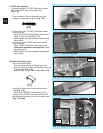
FIG. 1-5 Align arrow.
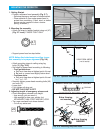
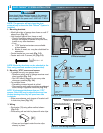
FIG. 1-8 Attach emergency release cord & tag.
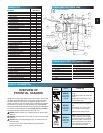
9
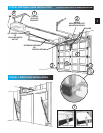
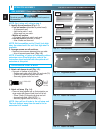
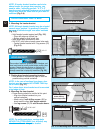
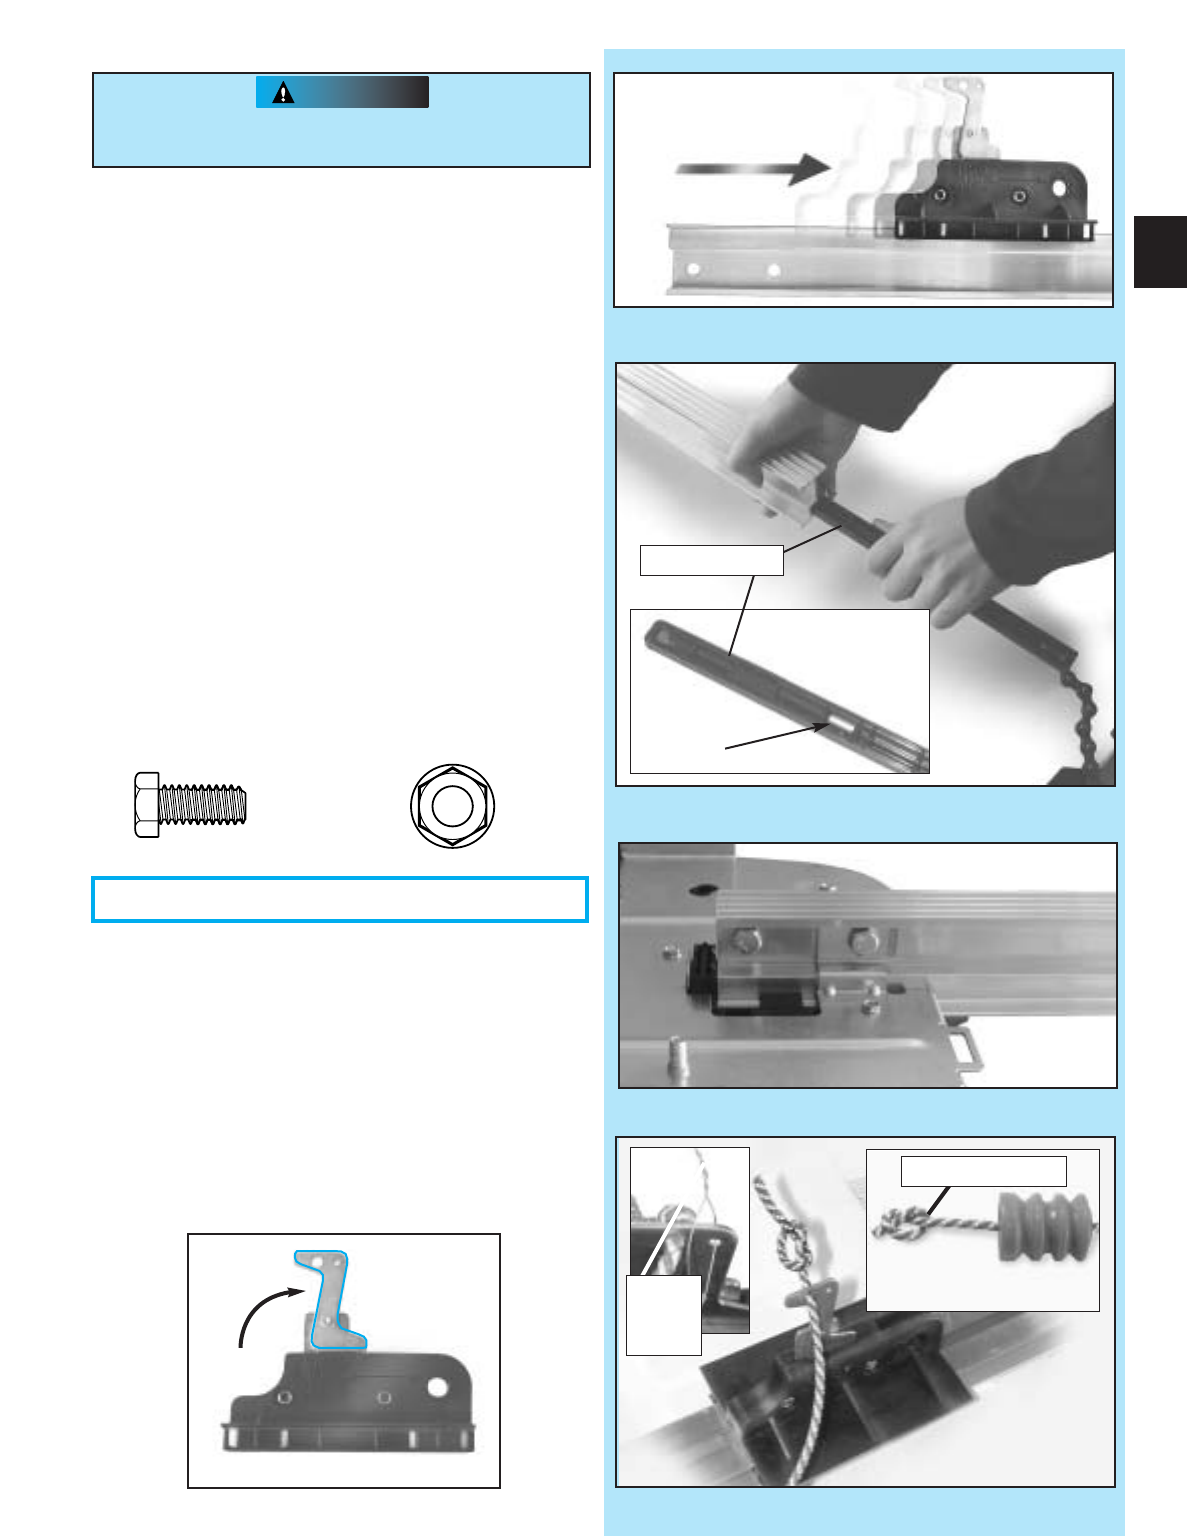
6. Attach rail to power head
.
• Place rail in front of power head with rail strap at
opposite end.
• Support door end of rail (rail strap) at about same
height as power head.
–
Check if magnet is in place (Fig. 1-6 inset)
.
Insert
carriage slide into rail (Fig. 1-6). (Carriage slide is
long straight piece attached to chain.)
–
Pull rail toward you as you feed chain into it.
(Fig. 1-6).
When the end of the rail is within
about 2 chain links of the power head, you can
then push it the rest of the way. (It is a snug fit.)
–
Securely fasten with 2 bolts (9) and nuts (10)
(Fig. 1-7).
OPEN GREEN PARTS BAG
FIG. 1-6 Slip carriage slide into rail.
FIG. 1-7 Attach rail to power head.
magnet
Make sure that the carriage magnet is in place in the
top of the carriage slide.
CAUTION
7. Attach emergency release cord, knob and tag.
• Tie overhand knot in 1 end of cord. Tighten knot.
(FIG. 1-8 inset A).
–
Slip opposite (no knot) end through knob
.
–
Slip through hole in emergency release lever
(Fig. 1-8).
–
Tie overhand knot in this end also. Tighten knot.
8. Attach emergency release tag
.
• Attach to hole in emergency release using metal
twist tie on tag. (Fig. 1-8 inset B).
[
10
]
[
9
]
carriage slide
Rail is up-side down
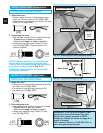
5.
Slip carriage into carriage slot of rail.
• Flip the rail assembly up side down.
• Place emergency release lever in “release”
position (See below).
– Check arrow on the side of carriage points
toward door end of rail.
– Slide carriage into rail at power head end
(Fig. 1-5).
– Flip rail assembly right-side up.
wire
twist
tie
overhand knot
B
A
Lever in release position.
1/4"-20
1/4"-20 x 5/8"