


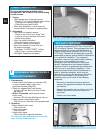
21
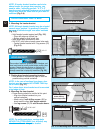
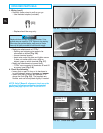
MULTI-BUTTON REMOTE
1. Programming.
NOTE: Each button on a multi-button remote is
designed for use with 1 door. You cannot pro-
gram 2 buttons to operate the same door, nor
can you program 1 button to operate 2 doors.
• For each button
.
– Program each button separately.
– Follow single button remote procedure
(previous page) for each button.
2. Operating.
• Same as single button remote.
LOST OR STOLEN REMOTE
1. Clear memory.
• Press and hold learn code button (on power
head) for 10 seconds or until Indicator LED
goes out.
• Program remaining or new remote controls as
done previously. Your door operator will no
longer recognize any signal received from the
missing remote control, or any other which has
not been reprogrammed.
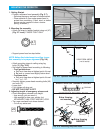
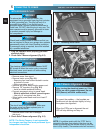
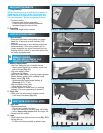
REMOTE CONTROL
BATTERY REPLACEMENT AND
VISOR CLIP INSTALLATION
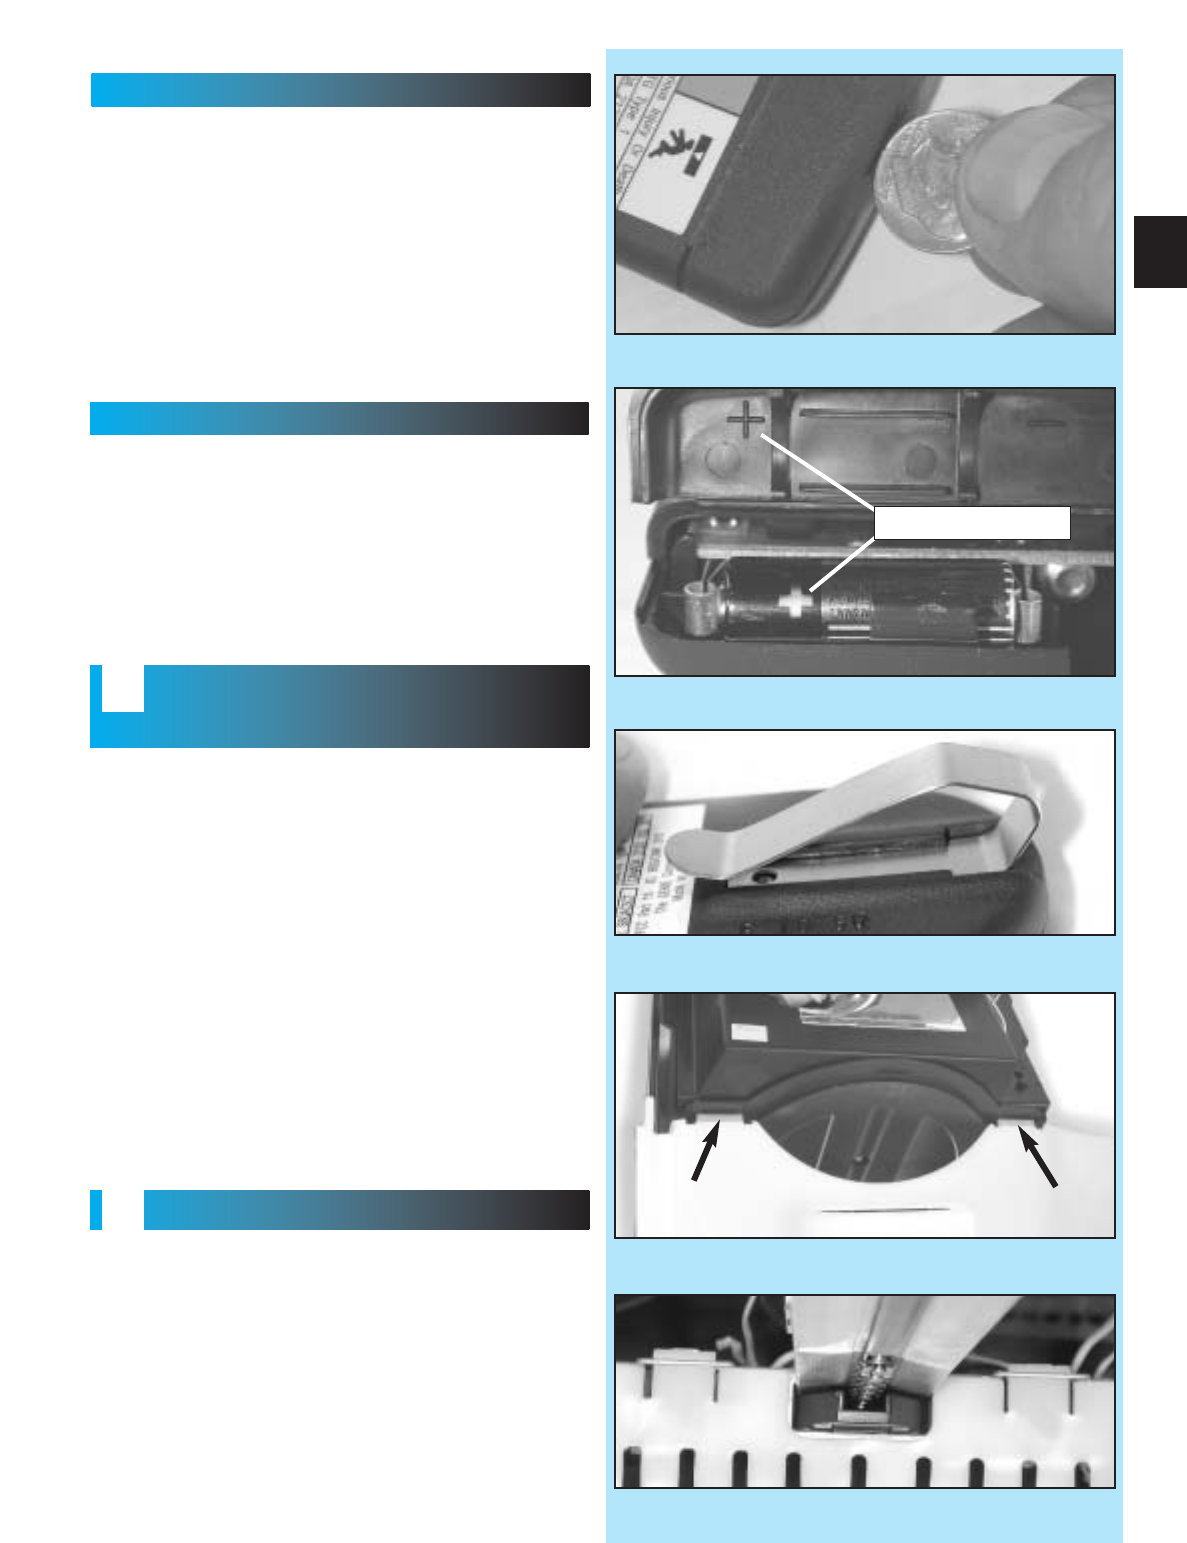
8
FIG. 9-1 Open battery cover.
1. Battery replacement.
• Use coin, ball-point pen or similar device.
– Gently push straight in on battery cover lock
tab as shown (Fig. 9-1).
• Flip open battery cover.
– Remove old battery.
• Make sure new battery is facing proper direction
(Match battery polarity with symbols inside
battery cover) (fig. 9-2).
– Recommended replacement battery is
Eveready A-23, 12 volt.
• Slip new battery into place.
– Snap battery cover shut.
• Operate remote to make sure it is working
properly. (No re-programming is needed.)
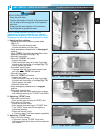
2. Visor clip.
• Slide visor clip into back of remote control.
– It will snap into place (Fig. 9-3).
FIG. 9-3 Attach visor clip.
FIG. 9-2 Match battery polarity.
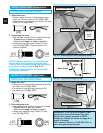
LIGHT BULB/LENS INSTALLATION
9
FIG. 10-2 Fasten lens.
1. Light bulb.
• Recommendations.
– Do not use a short neck bulb.
– Light bulb should be no more than 100 Watts.
– Use a heavy duty service bulb for longer life.
• Screw bulb into socket.
2. Lens.
• Slide hinges into slots on motor cover (Fig. 10-1).
• Swing lens up.
– Fit tabs into slots provided on power head.
+ polarity marks
FIG. 10-1 Slide hinges into motor cover.