


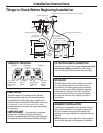
Installation Instructions
E. OPTIONAL REMOTE LOCATION
INSTALLATION
(requires additional part)
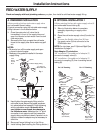
1. Turn off the cold water supply.
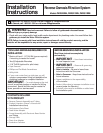
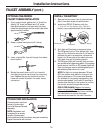
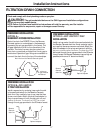
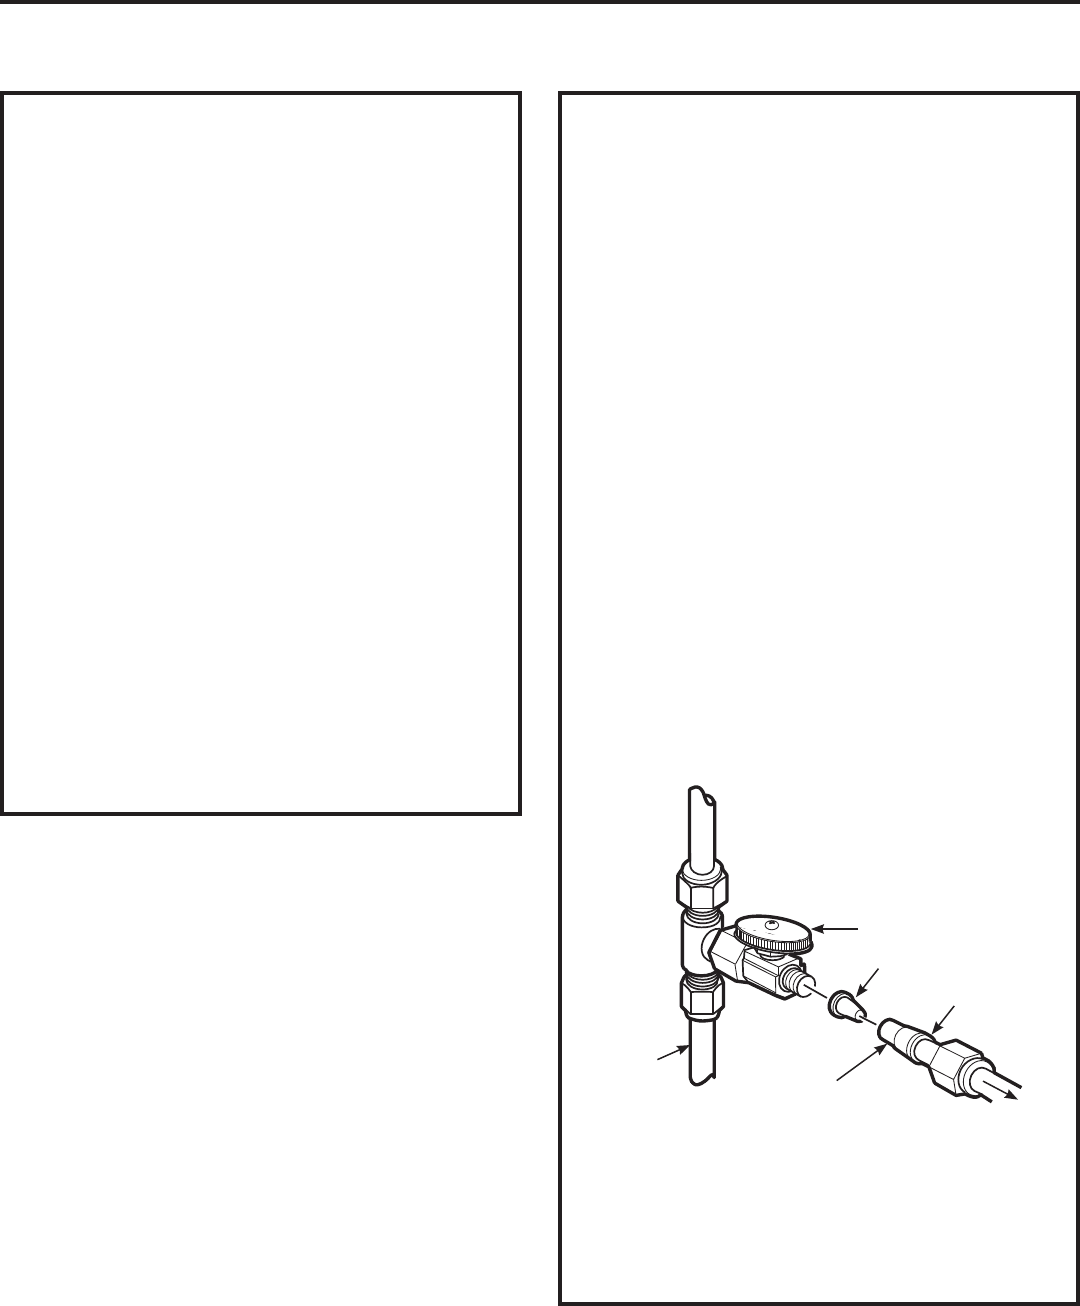
2. Complying with plumbing codes, install a fitting
on the cold water pipe to adapt 1/4” OD tubing.
A typical connection is shown in illustration
below. Make sure a water supply valve is used.
3. If the RO unit is to be installed more than 6
feet from the valve, replace the yellow banded
inlet tubing with a longer length of GE 1/4”
tubing. A 33-foot length of 1/4” tubing is
available through GE Parts and Services at
1.800.626.2002, part number WS07X10018.
DO NOT SUBSTITUTE TUBING OF UNKNOWN
QUALITY.
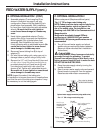
4. If the RO unit is to be installed more than
6 feet from the faucet, replace the blue banded
outlet tubing with a longer length of GE 3/8”
tubing. A 33-foot length is available through
GE Parts and Services at 1.800.626.2002,
part number WS07X10019. See Installing
the Faucet on page 14 for more details.
DO NOT SUBSTITUTE TUBING OF UNKNOWN
QUALITY.
If you are using copper tubing, DO NOT connect
it directly onto the RO unit. Purchase a connector
and use a short length of the yellow banded tubing
provided to make final connection to RO. Do not use
copper tubing to attach to icemaker or faucet.
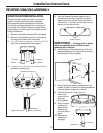
Cold
water
pipe
1/4” (yellow banded)
tubing to inlet
Insert (not included)
Ferrule
Water supply valve
To RO
Preferred water supply connection
(using compression fitting)
13
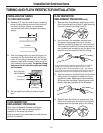
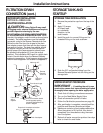
D. OPTIONAL RIGID PIPE INSTALLATION
For installation with rigid pipe between supply valve
and sink faucet.
Option 1
1. Remove pipe from supply valve and sink faucet.
2. Obtain flexible pipe sized to your plumbing.
3. Install flexible pipe.
4.
GO back to B. OPTIONAL INSTALLATION 1
section, step 4.
Option 2
1. Obtain compression fittings to fit rigid pipe.
2. Obtain any other fittings required to connect
compression fittings to adapter.
NOTE: Adapter has 1/2-inch and 3/8-inch internal
and external threads.
3. Remove pipe from supply valve.
4. Cut pipe to fit length of assembled fittings and
adapter.
5. Install compression fitting to pipe.
6. GO back
to B. OPTIONAL INSTALLATION 1
section
, step 4.
NOTE: Above described materials are not included
with the product.