


Installation Instructions
FAUCETASSEMBLY (cont.)
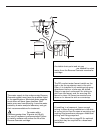
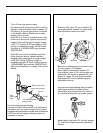
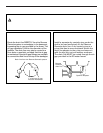
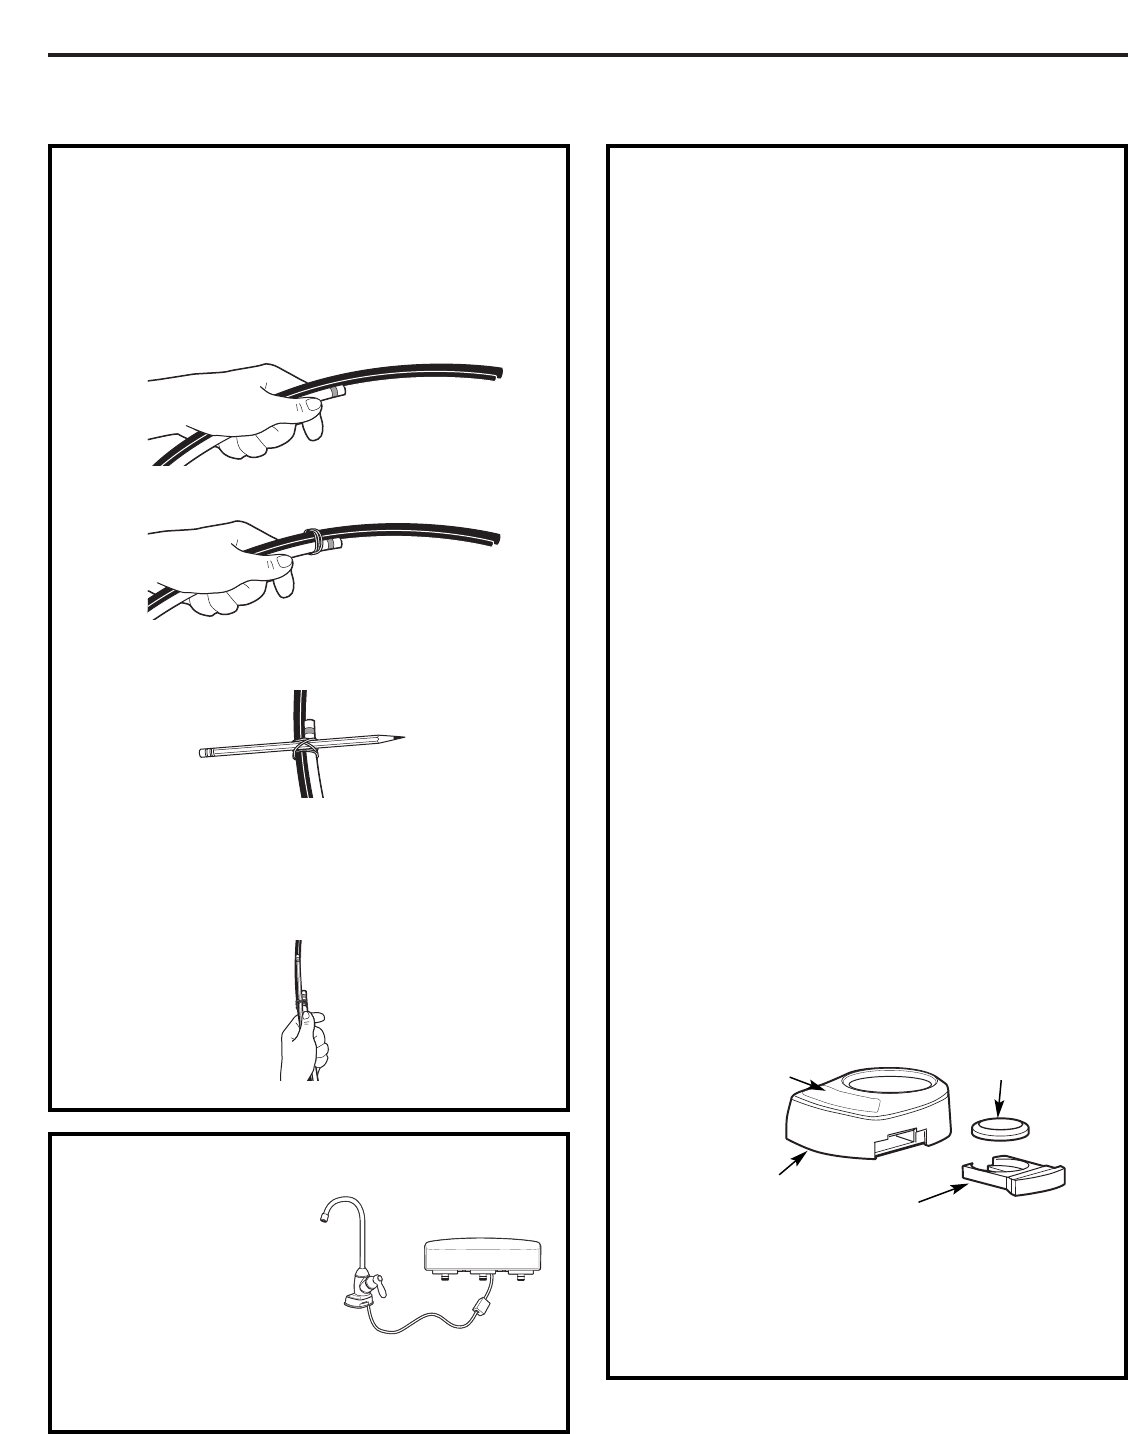
BATTERYINSTALLATION
1. Use a small flat blade screwdriver or coin
to remove the battery tray (A) at the side
of the faucet base.
2. Install one CR2032, 3 volt battery (B)
positive “+” side down into the battery
tray (A).
3. Slide tray into faucet base (C) until the
battery tray (A) edge is flush with the side
of the base.
4. Each light will illuminate in sequence
twice. At the end, the OK (green) light or
filter (yellow) light may stay on for a few
extra seconds. If you want to reinitiate the
start-up sequence, remove the battery for
90 seconds; the electronics need to fully
discharge. Then put the battery back in.
5. The OK (green) light will normally flash
one time per second when dispensing
water. The filter or RO (amber) lights will
flash one time per second when
dispensing water if the system needs
service. If the system needs service, they
will also flash randomly when the system
is not in use.
For lights to change between OK and RO,
the system must detect a change in the
filtering process for 25 consecutive seconds.
For example, if the system was not filtering
correctly, the RO light would be flashing.
When the problem is corrected and the
system is filtering correctly, the electronics
will wait for 25 seconds to confirm the
changes before changing to an OK light.
FOR FILTER CHANGE: Replace battery when
changing filter. Remove used battery and wait
at least 90 seconds before installing new battery.
This will ensure full electronic reset and proper
operation for the next 6 months.
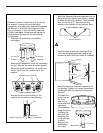
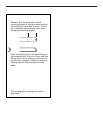
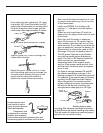
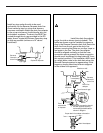
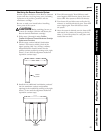
OPTIONAL ONEPERSON
FAUCET TUBING INSTALLATION
1. From under the sink, gather the 1/4″ drain
line (black), 3/8″ drain line (black) and 3/8″
outlet tube (blue banded) in one hand with
the drain tubes the same length and the
outlet tube offset approximately 6 inches.
2. Wrap a rubber band around all 3 tubes.
3. Insert a typical No. 2 pencil through the
rubber band location.
4. Rotate the pencil down until it is in line
with the tubing and push up through the
mounting hole. Release the grip on the
pencil and the tubes will remain in
position for easier faucet connection.
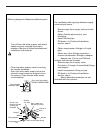
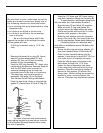
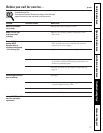
POWER CORD INSTALLATION
Connect power cord
from faucet to union
outlet from the Reverse
Osmosis Assembly.
NOTE: If extension cord
is required for a remote
location, this extension
phone cable must be 6 conductor wire and
connectors; typical 4 conductor will not work.
+
–
(B) Battery
(C)Faucet base
(A) Battery
tray
(D) Green or
amber lights
14