


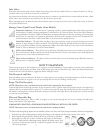

WARNING: Do not locate the power unit in a high temperature area where it is inaccessible, for example, an attic
or crawl space.
The power unit should be located as far away from the general living area as possible, yet accessi-
ble so you can remove the dirt receptacle, reach the filter, and inspect the power unit. A typical
location would be in a garage where you could vacuum your car or garage area and where empty-
ing the dirt receptacle and cleaning the filter would be more convenient. Other suitable locations
are in the basement, laundry room, or ventilated storage room. It is recommended that the exhaust
be vented outside; never into a wall, a ceiling, or a concealed space in the house.
Wiring for Power Unit
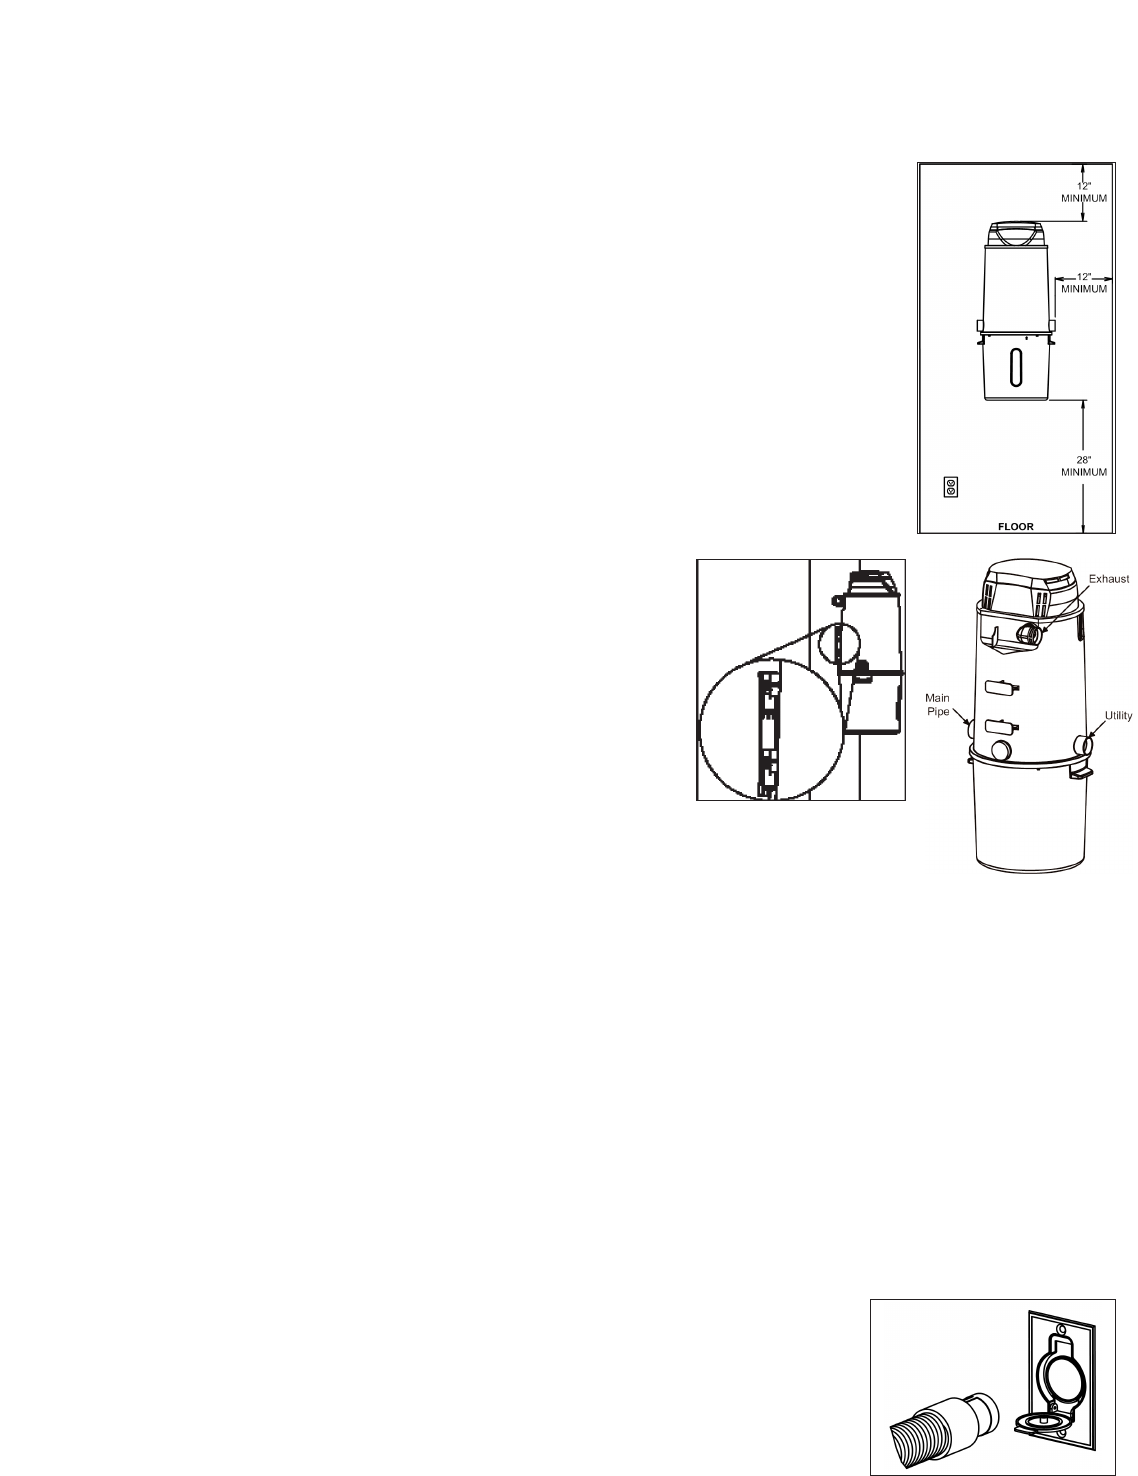
Place the power unit within six feet of a dedicated, grounded electric outlet. The unit requires 120
volt, 60 cycle AC power. Be sure you will not overload the circuit.
Install Power Unit
You are now ready to install the power unit. Be sure the power unit will be located at least 12 inch-
es from the ceiling and any adjacent walls and at least 28 inches from the floor. The motor hood
ventilation and safety relief valve, if equipped, should never be obstructed. Check to be sure you
will be able to occasionally remove the dirt receptacle, reach the filter, and inspect the power unit.
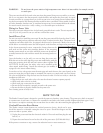
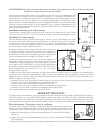
In the chosen mounting location, compare the distance between the
wall studs and the power unit mounting bracket. If the mounting
bracket cannot mount on one of the wall studs, mount two boards hor-
izontally between the studs and then attach the mounting bracket to
these.
Once the bracket is on the wall, you can now hang the power unit.
With the unit on the wall, align the power unit intake fitting with the
main pipe projecting from the wall and connect these together. DO
NOT GLUE. At this point, the utility valve can be installed in the
other unused intake fitting. Attach the exhaust pipe (or muffler, if
equipped) to the motor exhaust fitting.
Locate the two low voltage wires near the main pipe and attach them to the control panel on the
power unit using the provided crimp-on terminals. Be certain you comply with your local electri-
cal codes and regulations. Plug the unit into the electrical outlet. You are now ready to check the
installation of the unit:
• Plug the hose into each inlet valve to be sure the electrical contacts operate properly.
• Check each inlet valve for air leaks
• Check each pipe connection for air leaks.
• Be sure the dirt receptacle is properly secured to the power unit.
• Be sure the filter is properly installed in the power unit.
Your cleaning system is ready to use.
HOW TO USE
The Eureka Vacuum System is designed to provide the utmost in dust-free, quiet cleaning. The power unit, which is mounted
in a remote area of your home, is connected to centrally located inlet valves with a system of lightweight plastic pipes. Using
the cleaner is as simple as inserting the vacuum hose into an inlet valve after attaching the appropriate tool.
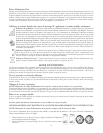
Overload-Protection Reset Button
The Eureka vacuum system features an overload protection device, which can be reset
should the motor be overloaded causing the circuit to open. Should this happen and the
power unit fails to operate, either:
1) Unplug the power unit from the electrical outlet for 30 seconds and then plug the unit
back in, or
2) Depress the reset button located on the side of the power unit. (LCD Models Only)
If the protector continues to trip, contact the authorized service center nearest you.
4