10
WA LL INSTALLATION
To install the room air conditioner in the wall, perform the
following procedure:
1. Remove air conditioner from shipping box. Do not install
window installation parts.
2. Determine the location for air conditioner. Make sure there
is adequate clearance on the inside and outside of the wall.
Ensure that the power cord will reach the available socket
without an extension cord. Air conditioner can be installed
in walls up to 7” thick. Side louvers must never be blocked.
Select a wall surface that:
S Does not support major structural loads such as the frame
construction at ends of windows and under truss--bearing
points
S Does not have plumbing or wiring routed inside
S Is near existing electrical o utlets ornear where anew outlet
can be installed
S Faces the area to be cooled and is not blocked by
obstructions
S Allows unblocked airflow from rear (outside) of installed
air conditioner
3. The following parts will need to be provided by the
installer:
S wood frame
S wood shims
S wood screws (no. 10, 1” long)
4. Working from the inside of the room, find a wall stud
nearest the center of the area where the air c onditioner will
be installed. This can be determined by sounding walls or
using a stud finder.
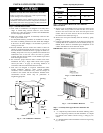
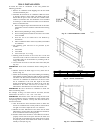
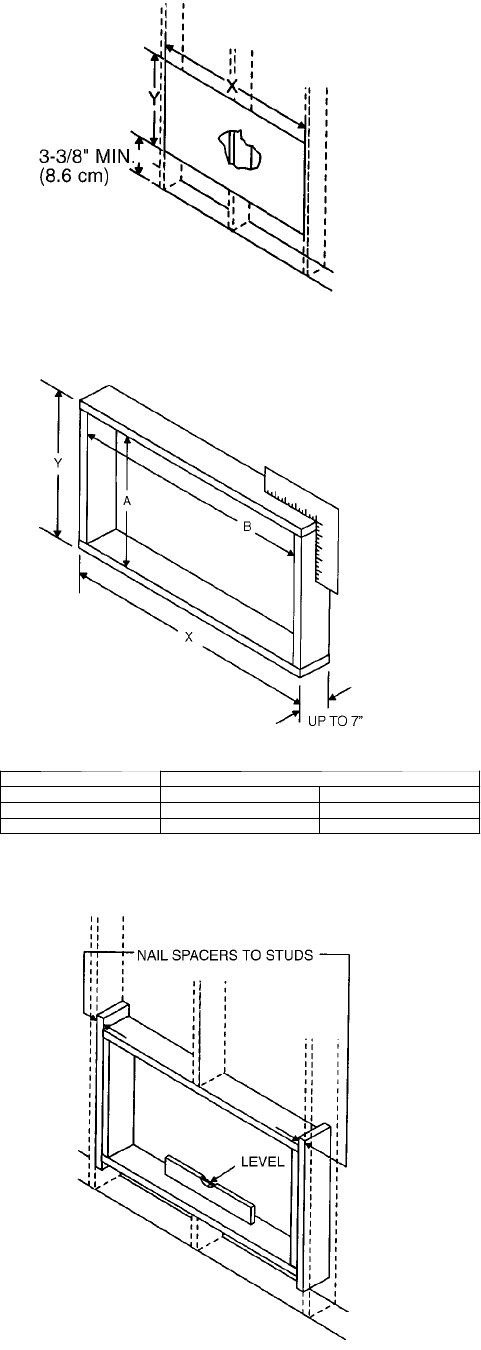
5. Cut or knock out a hole on each side of the center stud. (See
Fig. 22.)
IMPORTANT: Read entire instructions before cutting hole in
wall.
6. Measure between the inside edges of every other stud as
showninFig.22
7. Follow all local building codes when building and installing
frame. Build a wooden frame that will be placed around the
unit in the wall. The frame will reinforce the hole in the wall
where the air conditioner is installed and is used to secure
the a ir conditioner to the wall. The depth of the frame
should approximately match the depth of the wall. The
thickness of the frame will need to be added to the
dimensions to determine the size of the hole in the wall.
IMPORTANT: Be sure to measure air conditioner to check size
before constructing frame.
For example, if using 3/4” thick wood for the frame, the hole
would need to be: 20 --1/2” + 3/4” + 3/4” = 22” wide.
IMPORTANT: If thickness of the wall covers top and side vents
of the air conditioner when it is installed, the outer portion of the
wall opening must be widened. The top and side vents must be
clear and uncovered.
8. After the frame has been constructed, check to make sure
that the air conditioner fits correctly inside it. If the frame is
too tight or too loose, adjust the size or re--construct.
9. Measure the outer dimensions of the frame and use those
dimensions to cut the hole in the wall. Make sure the hole is
level or condensate will not drain properly.
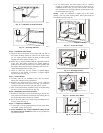
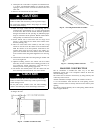
10. Install wooden frame into hole in wall. Make sure frame is
properly secured. Fill in the space between the frame and
the studs with wood shims (spacers). Nails spacers to studs.
If required, provide studs around entire frame to reinforce
stability of wall (see Fig. 24).
A06739
Fig. 22 --- Wall Installation Location
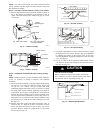
UNIT Dimensions
KC or KH A B
123P 15.75 22.8
141P --- 233P 18.25 26.4
A06740
Fig. 23 --- Frame Construction
A06741
Fig. 24 --- Frame Installation


